This is Part 1 of a series on How I set up my homelab from Scratch. This part focuses on how I did my research, key considerations, and what I ended up getting.
I’ve always wanted a home server. The idea of having a centralized storage system and self-hosting my data, whilst having full control was very appealing to me. So, as a Christmas present to myself, I decided to build one. Unfortunately, there was no Santa to help me out.
I wanted to write down my thoughts on what I learnt, how I picked parts, and what I ended up with. But first, a disclaimer.
# Don’t build your own homelab
Seriously. There are great off the shelf alternatives out there. Get a Synology or a Ugreen One. RAM and storage prices are at an all time high, PC parts may be incompatible with each other, and if things go south and you lose all the photos from that Japan trip four years ago, you will regret it.
Building a homelab is kind of like being on keto - you don’t just do it for a few months and forget about it. It’s a change in how you think about the systems you use on a daily basis.
If that didn’t dissuade you, then I’ve got good news for you - building a homelab is really fun.
# It is overwhelming, but fun
I’ve built two PCs before, so I’m not a total newbie. But a homelab differs from a traditional gaming PC, in the sense that you’re almost trying to make it less powerful. For example, when researching CPUs, I was initially eying an Intel 9700K. However, one consideration I later became aware of is this - what would your electricity bill look like if it ran all day, every day of the year? Unlike a PC, you can’t just turn the thing off.
To that extent, there are dedicated CPU + Motherboard combos which are energy efficient but still powerful. I personally am not a big fan of them. For the price you pay, a second hand older generation chip would be more powerful, while also not locking you into proprietary hardware in case the system needs to be beefed up.
# Be resourceful
PC parts are really expensive these days, so you probably have to get creative if you’re on a budget like me. Facebook Marketplace is a good place to start - just be sensible about sellers. No, an account created in 2025 is not going to be selling you a RTX 5090 at £200, because “they don’t game anymore”.
AliExpress is also a really good alternative for parts. Look up the ratings of sellers, and you should be fine. Similar story with eBay. CeX in the UK is also a good option.
There are two components I would be a bit cautious about buying used -
- PSU - A faulty one could quite literally damage your entire system. Either purchase new, or double check that it is functioning normally.
- Storage - This is less of a concern to me, but faulty disk drives are obviously not great for critical data. I am going to be backing up all my data to the cloud + having redundant storage. Determine your risk appetite and proceed accordingly. I saved £70 per drive going the used route, so this was an easy decision for me.
# The Haul
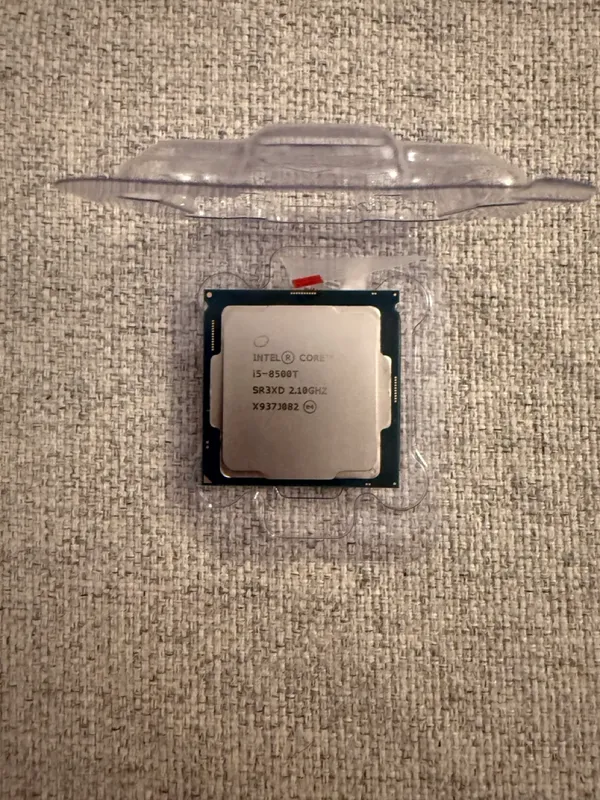
CPU
I went for an Intel 8500T. Intel because Quick Sync™ is really good at transcoding videos (TIL hardware transcoding on Plex requires a subscription?!).
I went for the T-version simply for energy efficiency.
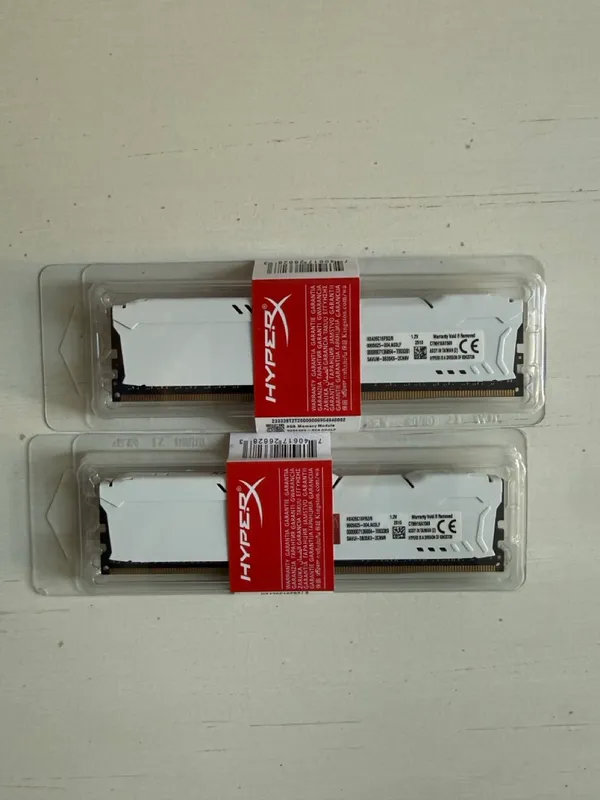
RAM
I honestly just picked the cheapest few sticks of 2x 8GB DDR4 RAM off AliExpress.
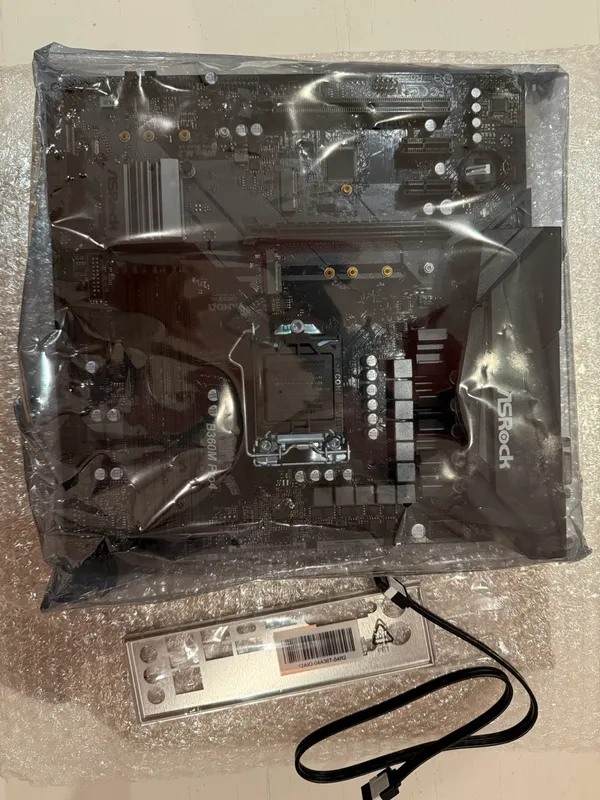
Motherboard
Apart from an Intel CPU, I also wanted an mATX motherboard for a small and compact build. The AsRock B360M, with support for up to 6 SATA drives (important for hard disks) was an easy choice for the build.
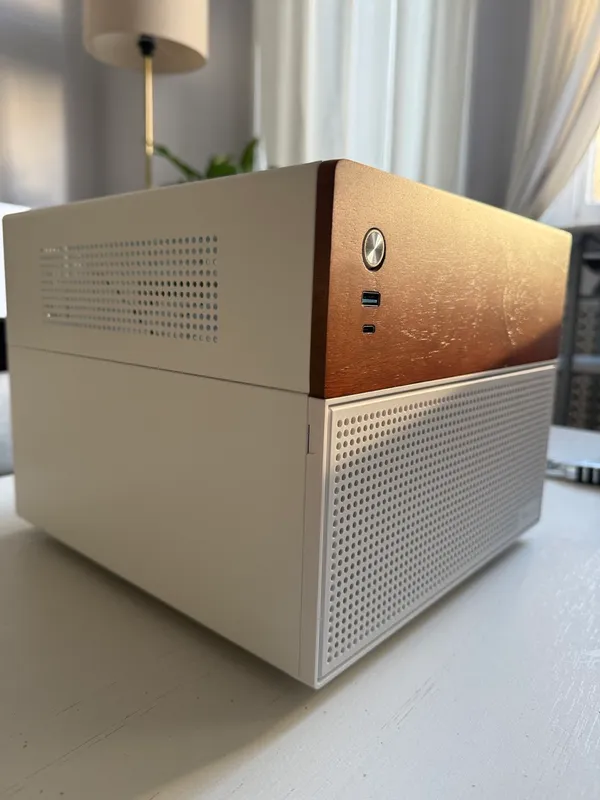
Case & Cooling
This is probably where I spent most of my time researching - which was surprising when I think about it. It is just a case after all, right?
The thing is, I needed a case that was compact, and fairly sleek as it was going to sit in my TV cabinet. I should ideally be able to house 4-6 HDDs in case I decided to expand.
There aren’t that many options:
- Fractal Node 804 was promising, but it is a bit too big and not particularly great looking.
- Lian Li A3 looked really sleek but could not house more than one 3.5 inch HDD.
- Sagitarius 8-Bay (which seems to be only on AliExpress) is actually a really nice option ticking all my boxes.
- Ultimately, Jonsbo N4 is the option I went with. It was £100, and significantly cheaper than the Sagitarius. I would say Jonsbo is also one of the more reliable case makers, especially for NAS and homelabs.
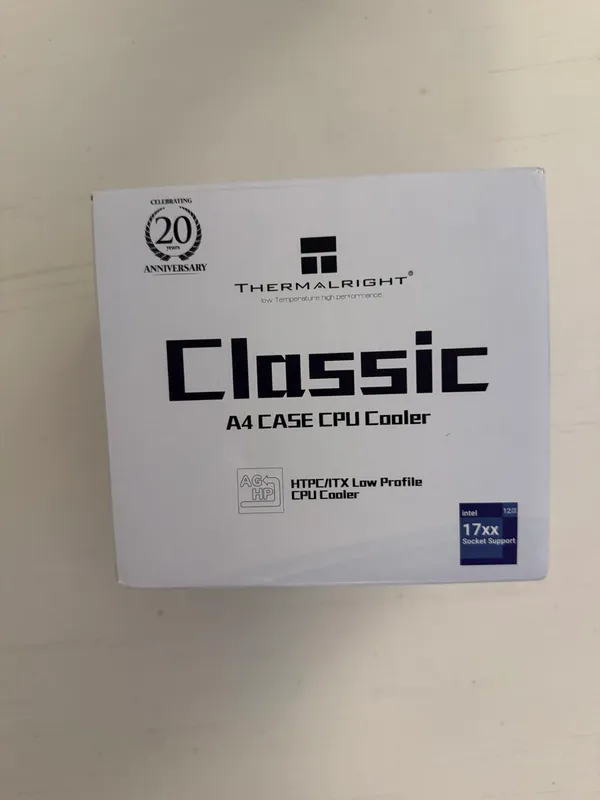
For the CPU cooler, I realized that the case supports only up-to a maximum height of 70mm. Since its a low powered CPU, I settled on a Thermalright AXP90 for £20.
\
PSU
I didn’t do much research for this. My only rule was to avoid no name brands, and buy new if I wasn’t sure. I went with the be quiet! System Power 11 - 450W. This tier list of PSUs was also really helpful to narrow down the options.
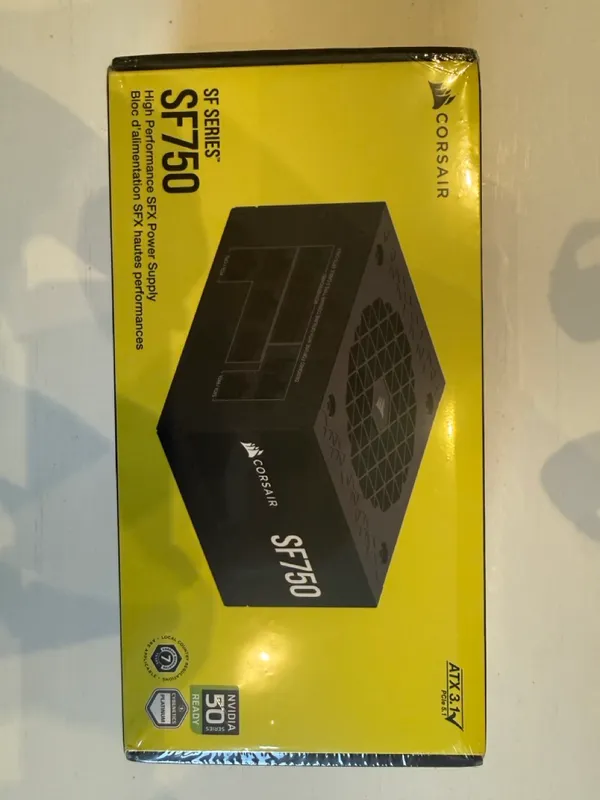
Maybe I should have done my research. Turns out the case supports mostly SFX power supplies. There aren’t that many options with a lower wattage rating, so I went with the trusted Corsair SF750. This was not cheap though, coming in at £138.
Storage
It is 2025 and HDDs are still really expensive. Blame the AI bubble. Anyway, there were a few ground rules here for me. Getting CMR drives, and getting at least 12TB of storage. I recommend this guide on understanding the difference, but TL;DR is CMR drives perform much better in traditional write scenarios. Be very careful with WD Red drives, and double check the model numbers to see if they are actually CMR, and not SMR.
I personally went with WD Red Plus 6TB x 3, totaling 18TB of storage for £210. This was a really good deal. I also have a spare SATA SSD lying around that I’m going to be using as my boot drive.
# Conclusion
My final parts list.
| Part | Price |
|---|---|
| CPU - Intel 8500T | £57.88 |
| Cooler - Thermal Right AXP90 | £20 |
| Motherboard - AsRock B360M | £45.69 |
| RAM - 2x8GB DDR4 HyperX | £54.66 |
| PSU - Corsair SF 750 | £138 |
| Case - Jonsbo N4 | £100 |
| Storage - WD Red Plus 3x6TB | £210 |
In total, my build came to £626.23, including storage. Compared to the Synology DiskStation® DS224, it has a much more powerful CPU, 8x the amount of RAM, 6x the amount of storage, and a very flexible system that is open to upgrades.
Overall, I’m pretty happy with my purchases. Stay tuned for the next part where I’ll be talking about my setup, proxmox installation, and the various containers you can install on it to take your homelab set up to the next level.
Thanks for reading! Want to read more like this? Read Sync or Swim